Proxy settings
A proxy server is needed if an exchange is not reachable from your network or the API key is bound to the proxy IP address. You set proxies up once and then choose one in the Proxy field of the connection settings and in the Market data proxy window.
Open Settings → Connections and click Proxy at the bottom of the window. The Proxy page opens on the right: it has the proxy list and the fields of the selected proxy.
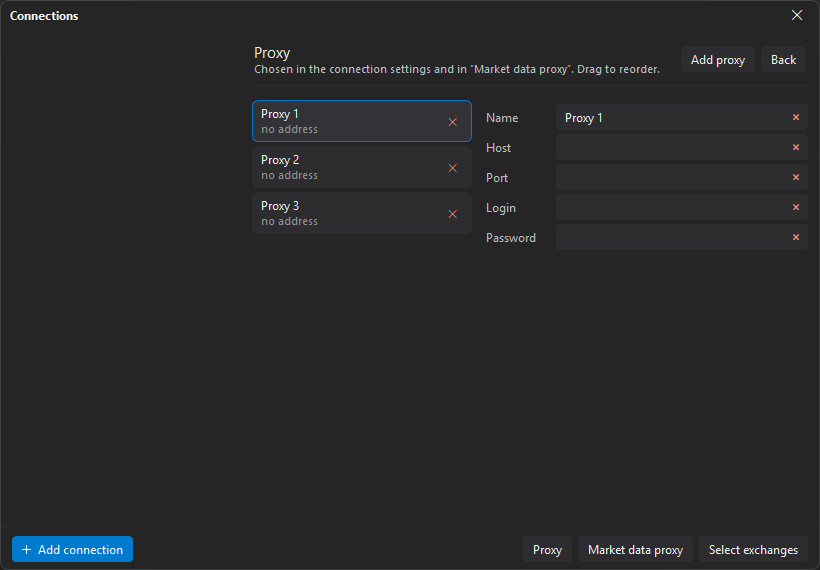
Click Add proxy — a new proxy appears in the list. Fill in its fields:
| Field | Value |
|---|---|
| Name | A convenient name for the proxy in the list. |
| Host | Proxy server address, for example 127.0.0.1 for a local proxy. |
| Port | Proxy server port. |
| Login and Password | Authentication credentials, if the proxy requires them. |
A list row shows the proxy name and address — host:port. Drag rows to change the order of proxies.
To delete a proxy, click ✕ in its row and confirm the deletion. If the proxy is chosen in connections or for market data, JetScalp lists them in the question: after the deletion they are left without a proxy.
Changes are saved when you leave the page: click Back, select a connection in the list or close the window.
A configured proxy appears in the Proxy field of the connection settings. Every connection has this field except Quik and Vataga.
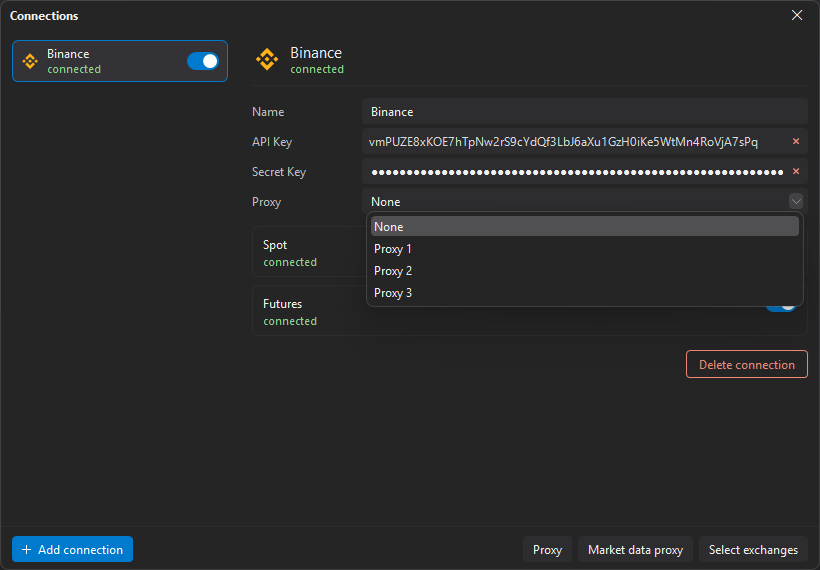
The selected proxy applies by itself: an enabled connection reconnects when you select another connection in the list or close the window.